1-at-a-Time Flying Geese Method
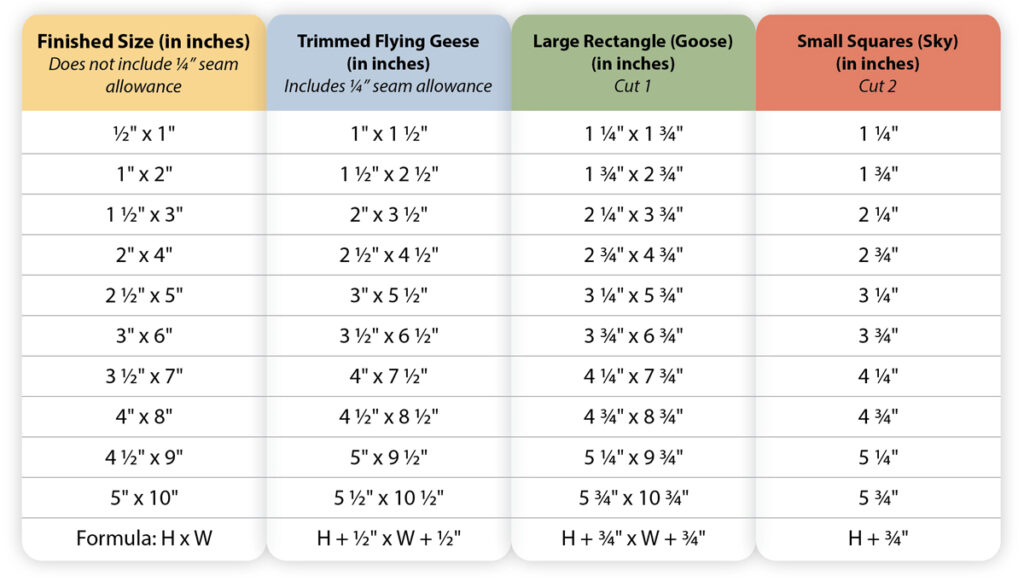
To get started we need to find out how big to cut your squares to create a Flying Geese unit using the stitch and flip method. The method below will provide an oversized Flying Geese unit so that you can trim to the perfect size:
-
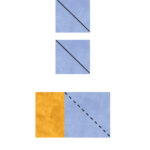
On the wrong side of the small squares (sky), mark diagonal lines from one corner to the opposite corner.
-
Place one square RST on the top-right corner of the rectangle. Have drawn line run from the top-left to the bottom-right of the square.
-
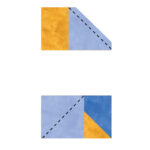
Sew directly on the drawn line and trim seam allowance to ¼". Then press towards corner.
-
Place the second square RST on the top-left corner of the rectangle. Have drawn line run from the top-right to the bottom-left of the square.
-
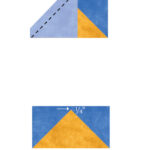
Sew directly on the drawn line and trim seam allowance to ¼". Then press towards corner.
-
Trim flying goose to the size indicated in the pattern (Be sure there is at least ¼" of fabric between the tip of the flying goose triangle and the edge of the block.)
