2-at-a-Time Quarter Square Triangle Method
The secret to this block is to oversize it and trim! Doing this will provide you with a perfect QST!
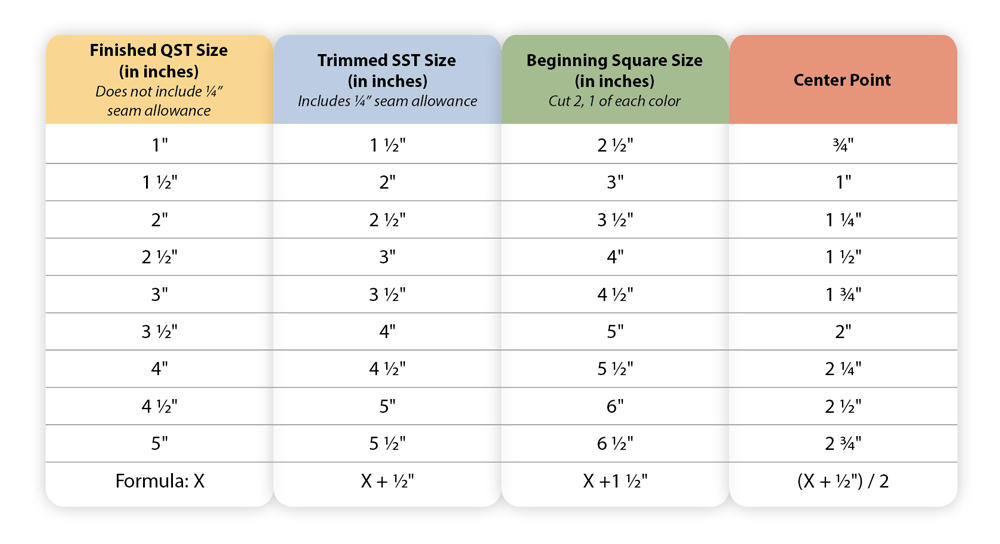
To get started we need to find out how big to cut your squares to create a QSTs, 2 at a time. The method below will provide an oversized QST so that you can trim to the perfect size:

-
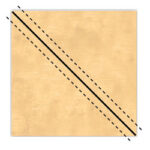
Place 2 beginning squares right sides together (RST). Draw a line down the center diagonally. Sew a ¼" from each side of the drawn line.
-
Cut apart on drawn line down the center diagonally. Press seam to the dark side.
-
Place the new unit squares RST with contrasting fabrics facing each other, nesting the seams. (You should not have the same fabrics touching).
-
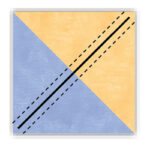
Draw a line down the center diagonally. Perpendicular to the seam. Sew a ¼" from each side of the drawn line.
-
Cut apart on drawn line down the center diagonally. Press Open.
-
Use a square ruler that is the same size or bigger than the size of the trimmed QST. Line up the ruler’s diagonal line with one of the diagonal seams on the QST. The center point measurement will intersect at the middle of the block, where the diagonal seams intersect. For example, a trimmed 2" x 2" block will have the 1" line right through the center of the block where the diagonal seams intersect. Trim the two sides. Flip your block and trim the other two sides lining up the diagonals and center as explained above.


